Header

Let's Get This Project Started
aps
Getting Started
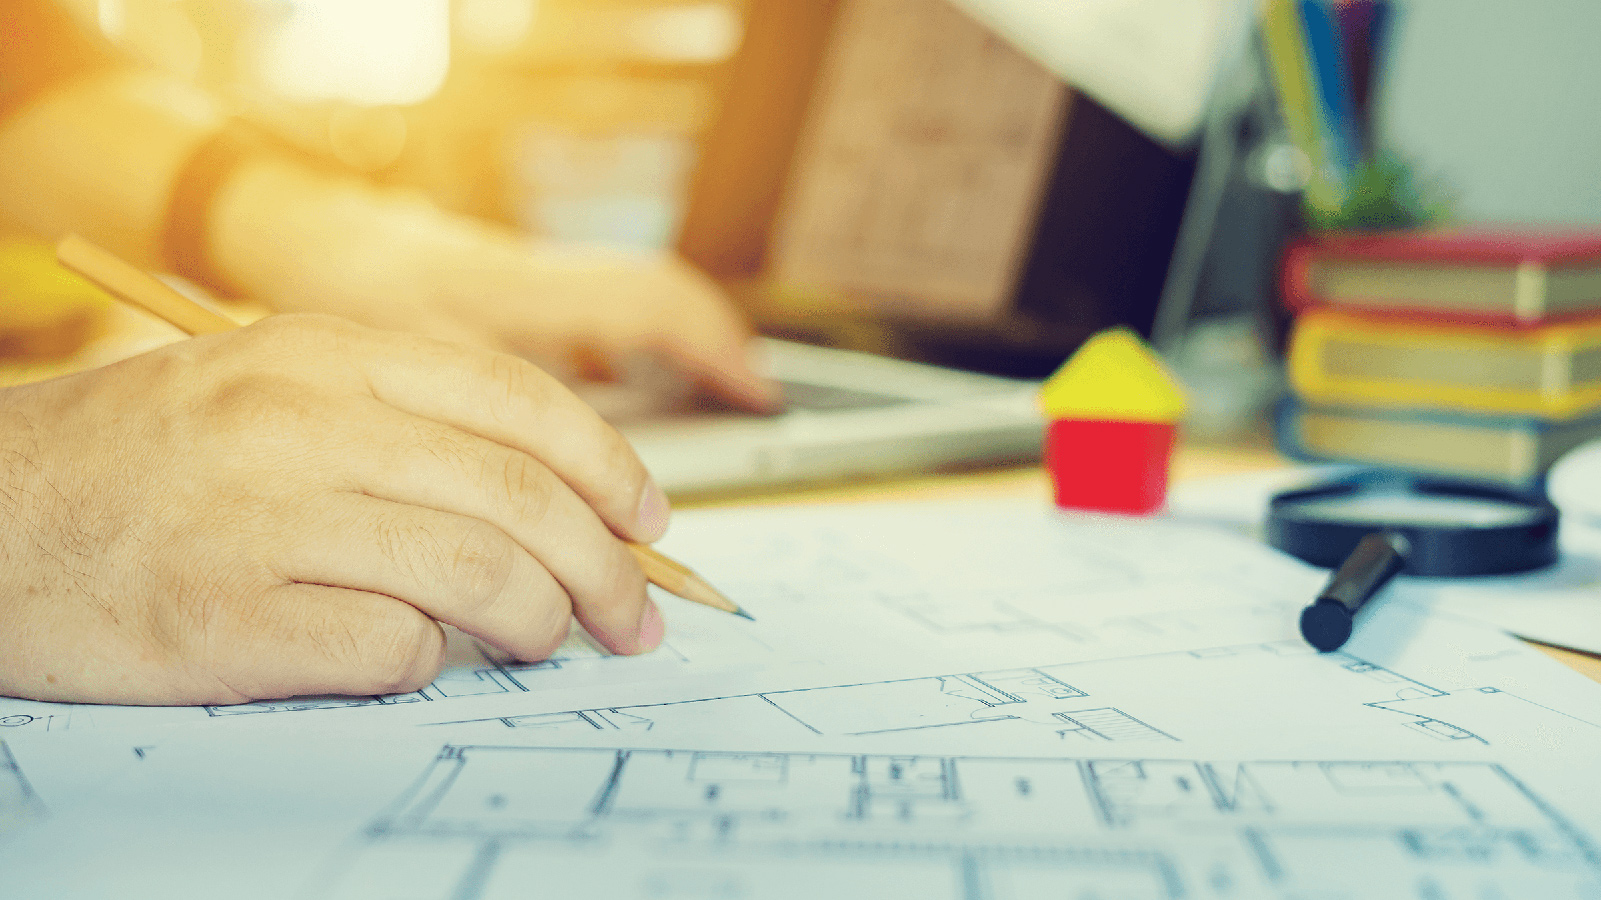
Step 1: Review Conflicts
Conflict reviews help you avoid disputes and disagreements throughout the construction process. Click on your area in the APS Construction Contacts Map, then submit a conflict review request to the email associated with your project’s location or address.
Step 2: Initiate Power
Now it's time to get your power up and running. Fill out our Project Initiation Request (PIR) Form and Public Safety Packet, then email the completed application forms to the appropriate Local Control Desk email for your project’s location. If you are unable to fill out the forms digitally using Adobe Reader software, you can print the forms and scan them, email them or drop them off in person at one of our several statewide locations.
Step 3: Gather Documentation
Email your Local Control Desk with the PIR and necessary documents to start your project. We will ensure you have everything you need to begin construction and connect you with your Customer Project Representative.
Step 4: Create a Game Plan
Your Customer Project Representative will serve as your project’s right-hand man. Together, you will discuss the design, timeline and expense of your project, and he or she will answer any questions you have about the construction process.
Step 5: Learn About Electric Service Requirements
Before you break ground, get familiar with our electric service requirements. These guidelines will provide you with the knowledge and resources you need to complete your project with minimal issues. Now is also a good time to inquire about Outdoor Lighting and Solar Services.

Installing Electric Service
Step 2: Review each section of our Electrical Service Requirements Manual to ensure you meet all specifications for Metering, Overhead, Underground, and Trenching.
Step 3: Contact Arizona 811 at least three days prior to starting any excavation work and review Arizona Blue Stake Laws to ensure a safe digging process.
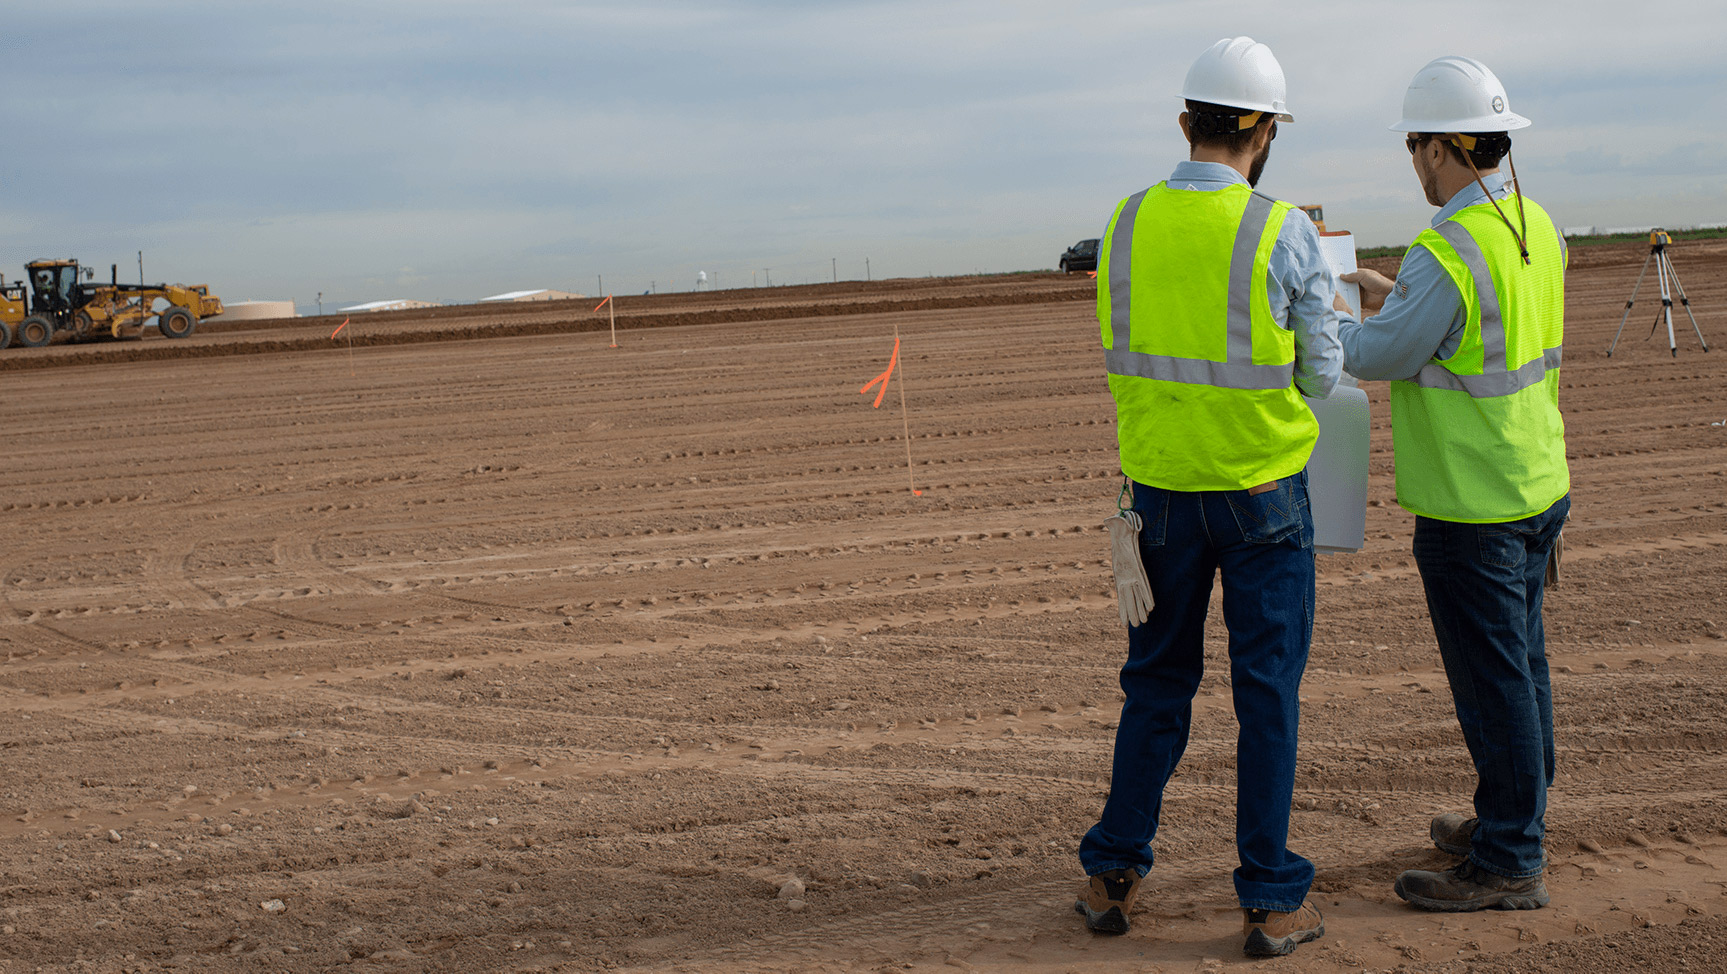
Step 4: Before we can connect power to your electrical panel, you must first schedule a site inspection with your local municipality. Your Customer Project Representative can help you schedule an inspection of the trench, conduit and utility side of the electrical panel only. For additional inspection needs, view your city’s municipality clearance requirements.
Step 5: Review charges for extending your power. Schedule 1 outlines the terms and conditions for standard offer and direct-access services. Schedule 3 outlines conditions governing extensions of electric distribution lines and services..
More Construction Services


